
This week I made an attempt at "Crayon Drip Art Pumpkin Tutorial" by The Swell Life. This I idea is originally hers, although I changed a few things to fit what I had and my vision for what I wanted. Also I need to warn you my pictures are taken with my phone (not the greatest quality) but you get the point.
You need:
Newspaper
Crayons
Pumpkin (size is your choice)-I got this one at Hobby Lobby for $4
A small candle
Hairdryer
I know not everything is pictured here, but it was late.

2.Find some way to attach the crayons to your pumpkin temporary. "The Swell Life" used tacky glue, I didn't have any and tried Elmer's.

When that didn't work I brought out the candle: I slightly melted the crayons just enough they would stick to the pumpkin. I forgot to take a picture before I turned on my hairdryer, but this is what it looked like after a few seconds with the hairdryer:

The dark brown for the stem, kinda messed up the other colors. If I were to do it over I would have melted him first.
*Beware when the crayons start to melt (literally after a few seconds)
they may start to fly off and splatter. Make sure you have your floor
covered, and wearing old cloths.
Here is the end result:

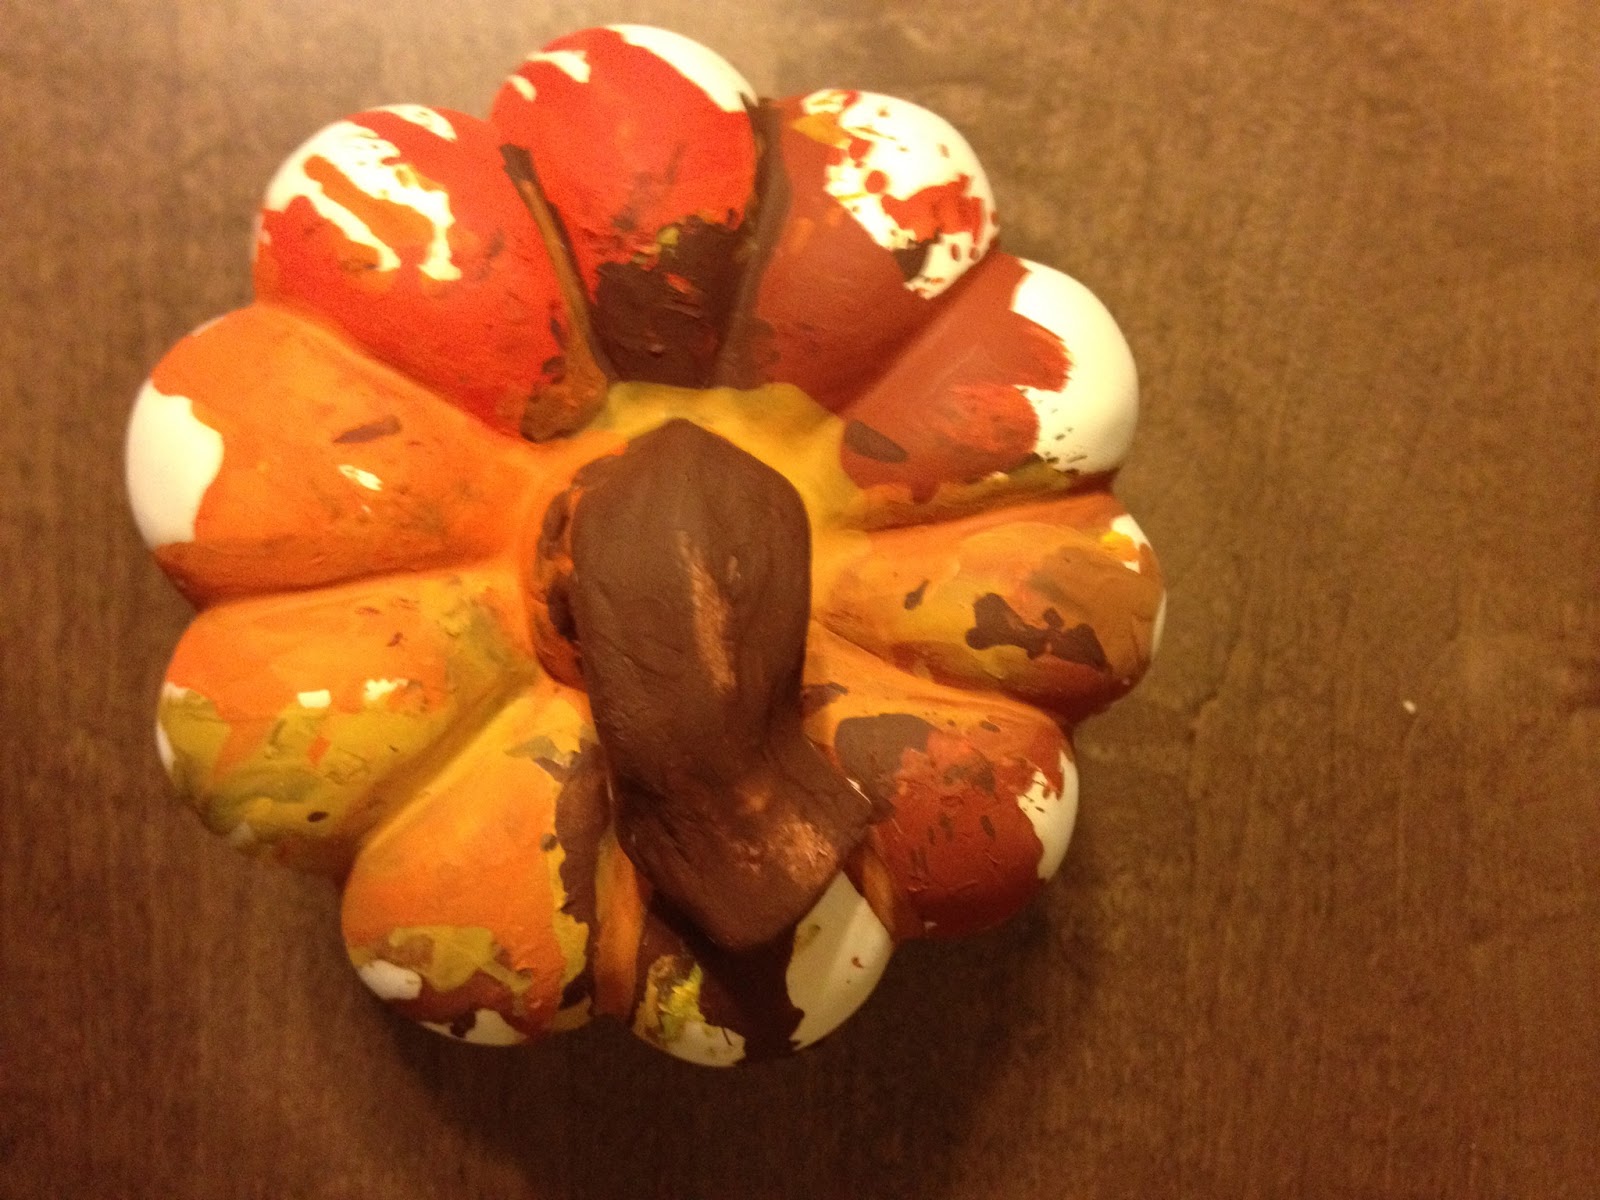
Kinda looks like a kindergartner did it, but I enjoyed doing it

*Things I would change:
Do the stem first, and possibly melting each color separate.
Use the entire crayon, their is too much white for my liking.
The best thing about this is you can let your imagination take over. Use any colors you like, heck even use a different shape. I think a ceramic bowl would be fun also! Enjoy!
Stay tuned for more "Pinned"... I think I will bake something this weekend.....
No comments:
Post a Comment